
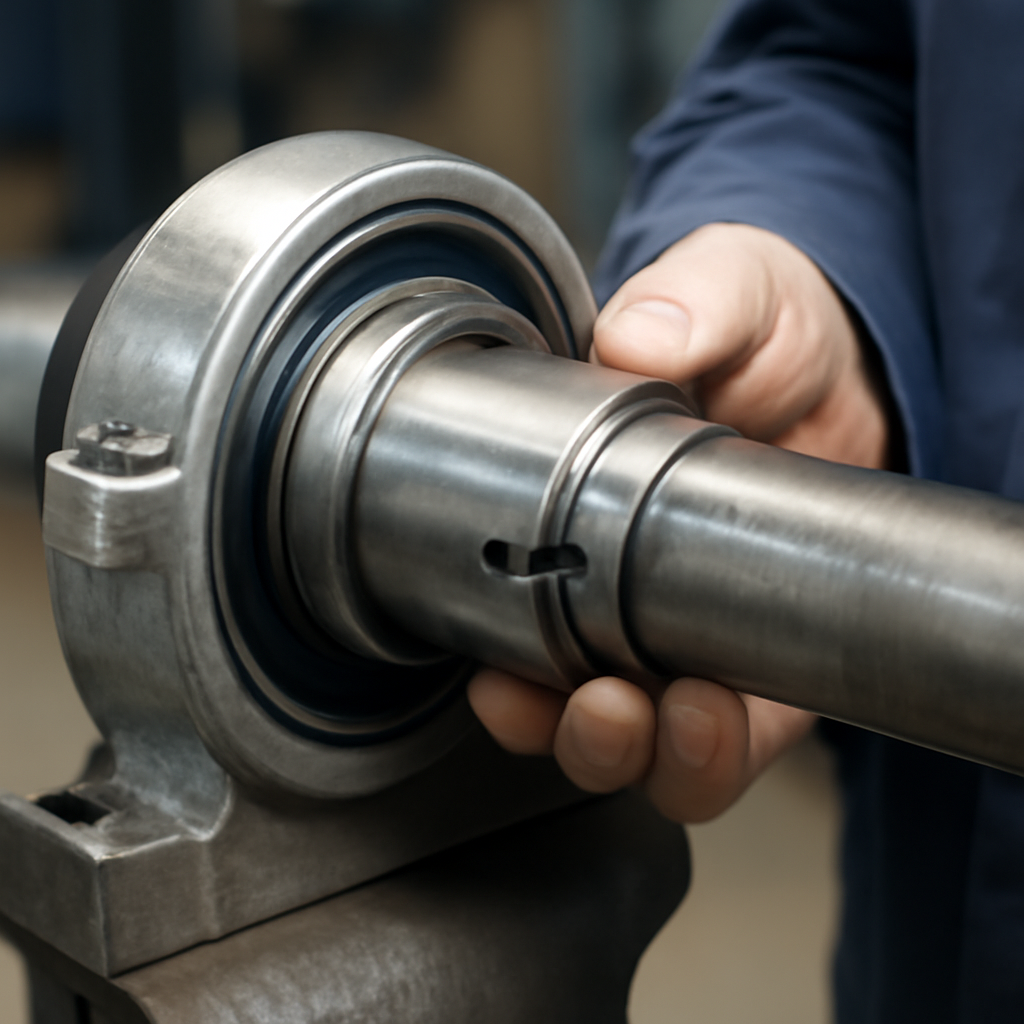
Y-bearing insert installations on stepped shafts represent one of the trickier standard mounting configurations in industrial applications. The SKF adaptor sleeve allows a Y-bearing insert to mount on a plain cylindrical section of a stepped shaft without requiring machining the shaft to accept a keyway or shoulder. Getting the installation right requires attention to sleeve orientation, tightening sequence and locknut retention. This piece walks through the workshop method that produces a reliable installation the first time.
Why the adaptor sleeve solution exists
Y-bearing inserts — SKF calls them YAR, YAT and YEL series depending on cage material — are designed to grip a shaft through an inner ring extension that has a locking mechanism. On a plain cylindrical shaft section the standard locking method is a set screw or an eccentric collar. The adaptor sleeve provides an alternative where the shaft steps between two diameters and the Y-bearing needs to sit on the smaller diameter. The sleeve tapers the effective shaft diameter to match the bearing bore.
The right sleeve for the shaft and bearing combination
SKF adaptor sleeves come in H-series designations that match the bearing bore and the shaft diameter. The catalog cross-reference lists which sleeve fits which shaft-and-bearing combination. Using the wrong sleeve produces either loose fit that allows the bearing to creep on the shaft, or excessive tight fit that stretches the inner ring and eliminates internal clearance. Read the catalog carefully or consult the SKF technical resources before ordering the sleeve.
Preparing the shaft surface
Before installing the sleeve, clean the shaft section thoroughly. Remove any burrs, rust or surface irregularity that could prevent the sleeve from seating properly. A light coat of oil on the shaft surface helps the sleeve slide into position without galling. Check the shaft diameter with a micrometer — if it is out of tolerance the sleeve fit will be wrong regardless of installation technique.
Installing the sleeve onto the shaft
Slide the adaptor sleeve onto the shaft with the tapered end facing away from the shaft shoulder. The sleeve tapers so that tightening the retaining nut compresses the sleeve against the shaft, creating the interference fit that grips the bearing inner ring. Position the sleeve at the target shaft location where the Y-bearing will sit. Use a lint-free cloth with light oil on the taper for the next step.
Fitting the Y-bearing onto the sleeve
Slide the Y-bearing inner ring onto the tapered sleeve. The bearing bore matches the small diameter of the taper before compression. Push the bearing against the shaft shoulder or against a locating spacer. Ensure the bearing inner ring seats flush against the sleeve without gap. Check for square seating with a feeler gauge — no more than 20 microns off-square at any point around the bearing.
Torquing the retaining nut
The rolling-element bearing catalog specifies the retaining nut torque for each sleeve size. Apply the torque incrementally, checking the shaft-and-bearing assembly rotation after each step. The correct torque compresses the sleeve just enough to grip the shaft firmly and eliminates any axial play in the bearing inner ring. Over-torquing stretches the sleeve and reduces bearing internal clearance below acceptable levels.
Verifying the installation
Rotate the shaft by hand after final torque. The bearing should turn with steady, moderate resistance — not free-spinning, not gripping. Check radial play with a dial indicator against the shaft outside the bearing — total indicated radial displacement should be within the specified bearing clearance range. If the installation feels wrong at this point, disassemble and start over rather than force it into service.
Common mistakes on adaptor sleeve installations
Three mistakes dominate. First: wrong sleeve size for the shaft-and-bearing combination — always cross-reference the SKF catalog. Second: over-torquing the retaining nut and eliminating internal clearance. Third: reusing the retaining nut and lock washer from a previous installation — the plastic deformation compromises retention over time. Fresh nut and washer with every installation.
What buyers should stock alongside the sleeve
Distributors serving industrial rebuild aftermarket should keep matched adaptor sleeve, retaining nut, lock washer and matching CORTECO shaft seal for the common Y-bearing installations. Selling these components as a kit rather than as separate parts differentiates the specialist distributor from a generic parts warehouse. Include the bearing itself in the kit and the customer has everything for a complete installation from a single order.
Related coverage on Eurobearing
- SKF Y-Bearings Selection Guide
- Bearing Installation Mistakes
- Taper Roller Preload Method
- The Four Fits Framework
- Bearings After Long Inactivity
Need help specifying SKF adaptor sleeves for Y-bearing installations? Our team supports European rebuild shops with sleeve selection and installation kits. Book a free consultation.