
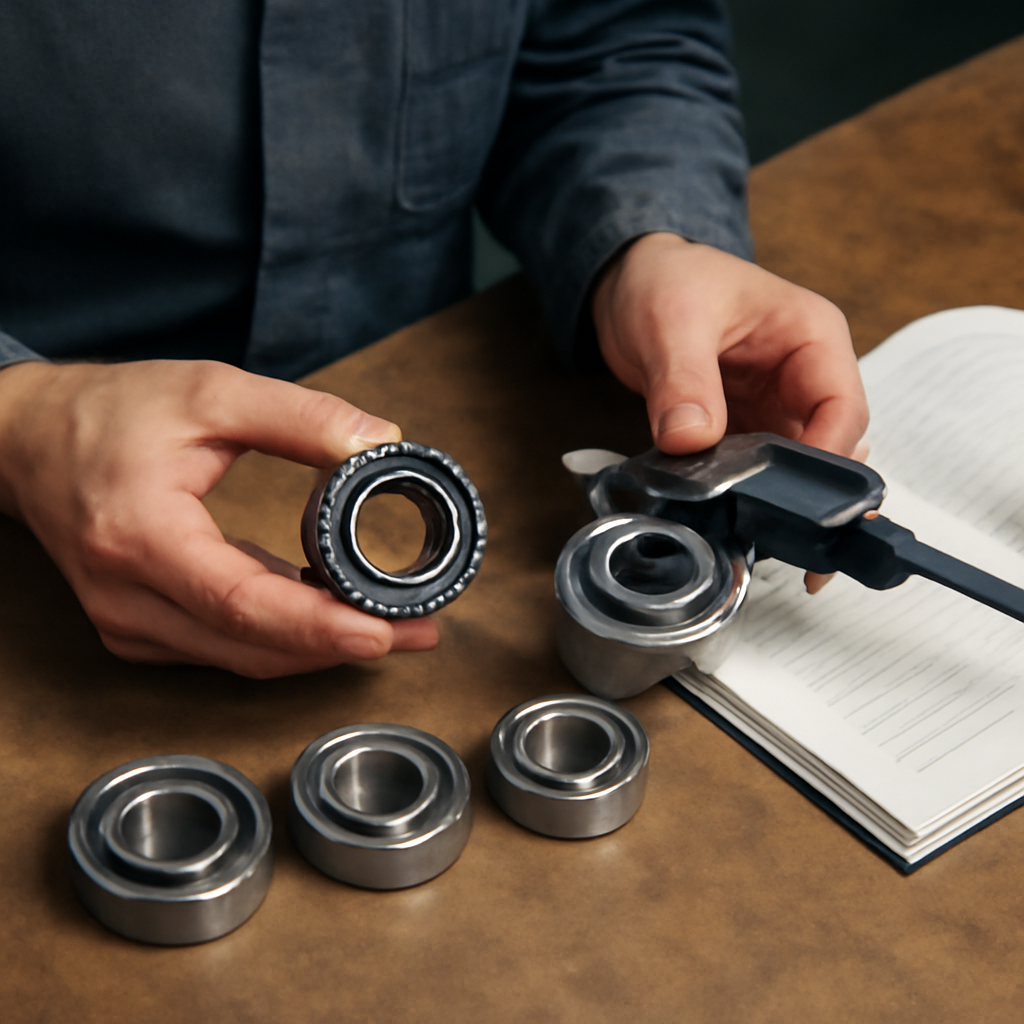
A failed bearing arrives at the maintenance bench with no documentation. The markings are worn off. The machine it came from is down. Production is waiting. The technician has 30 minutes to identify the replacement specification and place the order. This is a practical workflow every European industrial maintenance team should be able to execute reliably. This guide walks through the step-by-step process for bearing selection from a damaged sample, with the diagnostic methods and decision points that determine success.
Step 1: Initial visual assessment (5 minutes)
Before any measurement, the visible bearing geometry tells you a lot:
- Bearing type: deep groove ball, angular contact, cylindrical roller, tapered roller, spherical roller, needle, self-aligning. The geometry distinguishes these clearly.
- Cage style: pressed steel, polyamide (often dark plastic), solid brass, riveted vs welded.
- Sealing: shields (metal), contact lip seals (rubber), open, or sealed-for-life.
- Approximate size: small (under 50 mm OD), medium (50-150 mm OD), large (above 150 mm OD).
- Special features: snap ring grooves, mounting collars, integrated sensors, flanges.
This initial visual narrows the candidate range from thousands of bearings to perhaps dozens.
Step 2: Take dimensional measurements (10 minutes)
Three key dimensions identify the bearing in the standard catalogue:
- d (inner diameter / bore): measure with calipers across the bore at multiple positions (the bearing may be slightly worn or deformed; use the largest reading).
- D (outer diameter): caliper measurement across the outer ring.
- B (width): along the axis between the two faces.
Record measurements precisely. Standard catalogue dimensions follow specific patterns that allow series identification.
Step 3: Series identification from dimensions (5 minutes)
For deep groove ball bearings, the bore-to-OD ratio identifies the series:
- Bore 10 mm + OD 26 mm: 6000 series (light).
- Bore 10 mm + OD 30 mm: 6200 series (medium).
- Bore 10 mm + OD 35 mm: 6300 series (heavy).
- Bore 10 mm + OD 42 mm: 6400 series (extra heavy).
For other bearing types, similar patterns apply. The manufacturer catalogue (online) provides series identification tables. Within 5 minutes you can identify both the bearing series and the specific size code.
Step 4: Read remaining markings (5 minutes)
Even severely worn bearings often retain partial markings under good lighting and magnification:
- First digits of the bearing designation (giving series).
- Last digits (giving size code).
- Manufacturer logo or trademark.
- Suffix codes (seals, clearance, cage).
- Batch code (sometimes visible).
Combined with dimensional measurement, the partial markings confirm the identification.
Step 5: Cross-reference with manufacturer apps (5 minutes)
Most major bearing manufacturers offer free cross-reference apps:
- SKF Bearing Select: search by dimensions, type, or partial designation.
- Schaeffler medias: comprehensive catalogue with cross-reference.
- NSK Bearing Doctor: bearing identification and selection.
- NTN Bearing App: dimensional lookup and cross-reference.
The apps confirm the identification and provide the manufacturer-specific designation with all suffix codes.
Step 6: Assess failure mode for replacement strategy
The bearing failure pattern informs the replacement decision:
- End-of-life fatigue: replace with same specification, expect similar service life.
- Installation damage: replace with same spec, train installer on correct procedure.
- Lubrication failure: replace with same spec, review lubrication strategy.
- Contamination: replace with same spec or upgrade sealing (shielded to contact lip seal).
- EDM electrical erosion: replace with insulated variant (Insocoat or hybrid ceramic ball).
- Overheating: replace with same spec, investigate operating conditions.
- Overload: consider upgrading to higher load class.
- Misalignment damage: replace with same spec, perform laser alignment.
The failure mode often suggests not just identifying the original bearing but specifying an upgrade.
Step 7: Consider the operating context
The application context informs replacement specification:
- Wet or contaminated environment: upgrade from shield to contact lip seal.
- High-temperature service: verify clearance class (C3 minimum above 80 °C), grease specification.
- High-speed application: verify cage material (polyamide above 1500 rpm typical).
- Heavy-duty service: consider enhanced fatigue life range (Explorer, X-life, SPEXX).
- EV traction motor: specify insulated bearing.
- Food and beverage: stainless construction, food-grade grease.
Step 8: Specify the replacement
The final specification combines:
- Bearing designation (series + bore code).
- Seal type (2RS, 2Z, open).
- Clearance class (C2, normal, C3, C4).
- Cage material (steel, polyamide, brass).
- Special features (insulation, stainless, food-grade).
- Brand preference (manufacturer or distributor choice).
Step 9: Place the order with context
When placing the order, provide:
- Complete designation.
- Application context (helpful for distributor application engineering review).
- Required delivery timing.
- Substitution acceptance criteria (which suppliers are qualified equivalents).
Step 10: Document the identification
After successful identification, document for future reference:
- Equipment asset ID and bearing position.
- Bearing specification identified.
- Identification source (markings vs dimensional vs cross-reference).
- Failure mode observed.
- Corrective actions implemented.
This documentation feeds the CMMS master data, supporting faster identification on future failures.
The cross-reference safety check
Before installing the new bearing, verify the cross-reference is accurate:
- Compare the new bearing dimensions against the failed sample.
- Verify cage style matches the application requirements.
- Confirm seal type is appropriate for the environment.
- Check clearance class against operating temperature.
Five minutes of verification prevents installation of incorrect replacements.
When the identification is uncertain
For unusual bearings or partial identifications, engage manufacturer technical support. SKF, Schaeffler, NSK, NTN, TIMKEN technical hotlines can identify bearings from dimensional measurements and application context. The technical support investment is usually worth the certainty.
Building team competence over time
Maintenance teams that systematically practice bearing identification from damaged samples build the skill over years. Within 2-3 years of disciplined practice, the team identifies the majority of bearings in under 15 minutes with high confidence. The skill compounds: faster identification means faster replacement, less downtime, better operational performance.
Integration with maintenance workflow
The bearing identification workflow integrates with broader maintenance practice:
- CMMS master data with bearing specifications for each asset position.
- Cross-reference database supporting multi-supplier substitution.
- Failure investigation documentation feeding reliability improvement.
- Procurement relationship leveraging distributor application engineering.
Conclusion
Bearing selection from a damaged sample is one of the most common technical workflows in European industrial maintenance. Disciplined execution of the 10-step process — visual assessment, dimensional measurement, series identification, marking interpretation, cross-reference, failure mode analysis, operating context, specification, order placement, documentation — delivers reliable identification in under 30 minutes for the vast majority of failed bearings. The cumulative effect across years is measurably better maintenance response time and reduced unplanned downtime impact.
Related guides on Eurobearing
- Quick Bearing Identification
- FAG Bearing Designations Decoder
- Bearing Failure Photo Library
- Top 6 Bearing Brands
- Counterfeit Bearings Europe
Need help with bearing selection? Our team supports you with cross-references and lead-times.