
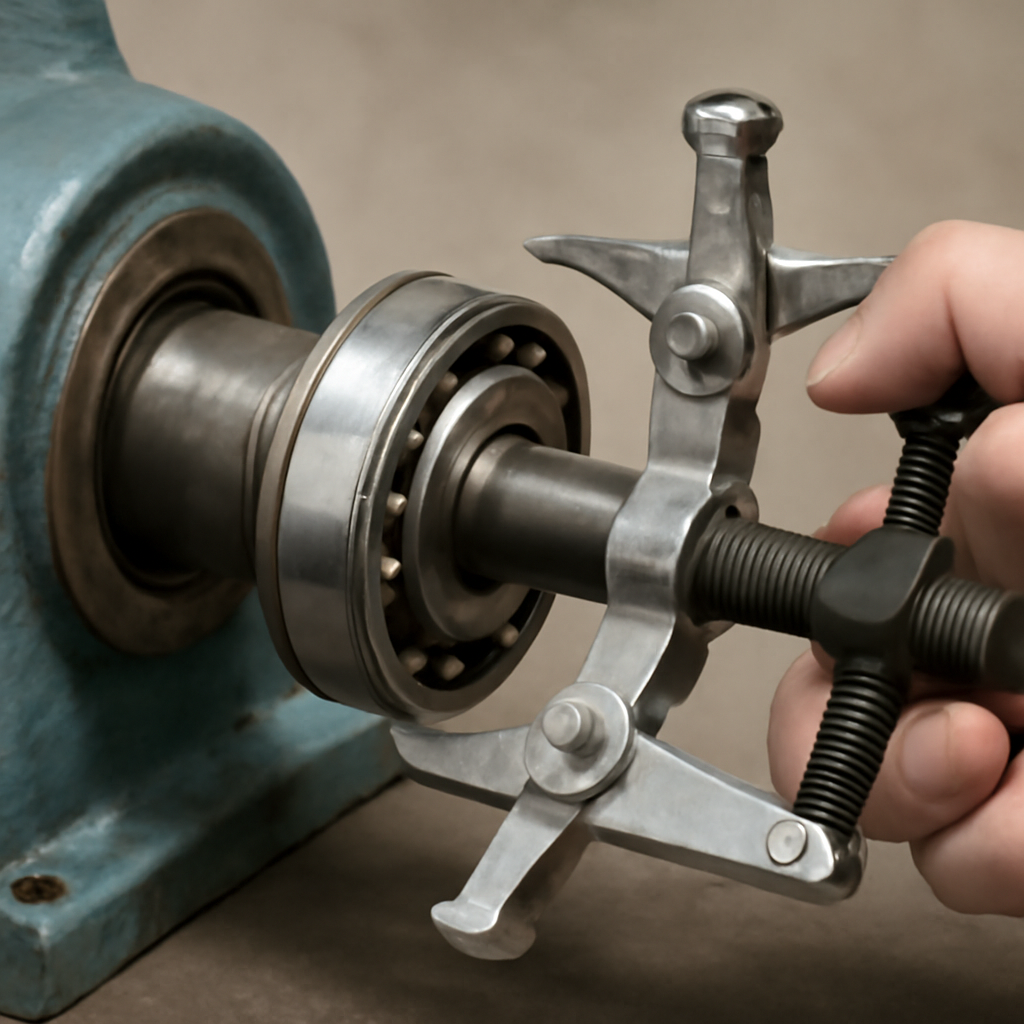
Every industrial rebuild shop has faced the situation: a locked adaptor sleeve that will not come off the shaft despite everything the toolbox can throw at it. The retaining nut has been loosened, the tab washer removed, but the sleeve refuses to slide off the shaft. Hammering on the shaft end is the most common workaround and produces damaged shafts that require rework or replacement. This piece walks through the workshop methods that free the locked sleeve without hammering.
Why adaptor sleeves lock in the first place
Three mechanisms produce locked adaptor sleeves. First: corrosion between the sleeve inner surface and the shaft outer surface, common on outdoor and marine installations. Second: the sleeve tapered surface deforming plastically under years of load cycling, creating a mechanical interlock with the shaft. Third: contamination between the sleeve and shaft that hardens over time into an effective adhesive layer. Each mechanism responds to different removal techniques.
Diagnostic first: understand the lock mechanism
Before applying force, inspect the visible surfaces. Rust around the sleeve edges points to corrosion locking. Discolouration on the sleeve outer surface points to heat cycling deformation. Sludge or hardened grease residue points to contamination locking. This 5-minute assessment tells you which removal method to reach for first.
The penetrating oil method for corrosion locks
For corrosion-locked sleeves, apply penetrating oil to the shaft-sleeve interface and allow to work overnight. Multiple applications may be needed for severe cases. After the oil has penetrated, apply a specialty sleeve puller — not a bearing puller — that grips the sleeve outer surface rather than the shaft. The puller compresses the sleeve axially while pushing off the shaft, breaking the corrosion bond. This method works on roughly 70 percent of corrosion-locked installations.
The cold contraction method for heat-cycle locks
For heat-cycle deformation locks, cold contraction can open enough clearance to allow sleeve removal. Pack the shaft-and-sleeve assembly with dry ice for 30 to 60 minutes. The shaft contracts more than the aluminum sleeve, creating clearance. Apply the sleeve puller while the assembly is cold. Success rate on heat-cycle locks with this method is roughly 60 percent — some cases require additional techniques.
The heat-and-oil method for contamination locks
For contamination-locked sleeves, apply heat to the sleeve outer surface with an induction heater or careful torch application. The elevated temperature liquefies hardened grease and contamination inside the sleeve-shaft interface. Follow with penetrating oil application while the sleeve is still warm. The combination breaks most contamination locks within 30 minutes of applied heat. Do not overheat — sustained high temperature damages the sleeve tempering.
The bearing separator method for severe cases
For sleeves that resist all above methods, a bearing separator tool positioned behind the sleeve allows controlled mechanical extraction. This tool grips the shaft at a controlled position and applies axial force against the sleeve back face. Slower than the other methods but reliable on severe cases. Damage to the sleeve itself is possible with this method — the sleeve typically gets replaced anyway on a rebuild that reached this point.
The last-resort cutting method
When all above fails, cutting the sleeve becomes necessary. Cut the sleeve along its length with an angle grinder using care not to score the shaft. Once cut, the sleeve peels away from the shaft without additional force. This method sacrifices the sleeve entirely but saves the shaft. Reserved for cases where all other methods failed.
The tools that make the workshop capable
Distributors serving European rebuild aftermarket should stock proper sleeve pullers, bearing separators and induction heaters as installation kits. The rolling-element bearing literature calls these tools essential for professional rebuild work. Customers investing in the tools pay back the investment within the first few sleeve removals they enable without damaging shafts.
What buyers should stock alongside sleeves
Distributors selling SKF or FAG adaptor sleeves should sell fresh retaining nut, tab washer and matching CORTECO shaft seal as a complete replacement kit. Selling these components as a kit rather than as separate parts differentiates on service depth and ensures customers have everything for a complete rebuild.
The takeaway for the workshop
Locked adaptor sleeves respond to specific removal methods matched to the lock mechanism. Diagnostic first, matched technique second, cutting only as last resort. Hammering the shaft is never the correct answer — damaged shafts cost far more than the extra 30 minutes of diagnostic and technique application. Train workshop staff on the methods and stock the appropriate tools.
Related coverage on Eurobearing
- SKF Adaptor Sleeve Y-Bearing Setup
- Bearing Removal Without Damage
- Seized Spherical Roller Removal
- Bearing Installation Mistakes
- KM Locknut Torque
Need help with adaptor sleeve removal tools? Our team supports European rebuild shops with sleeve puller and separator kit selection. Book a free consultation.