
Walk past a compressor house and you can usually hear which drives were tensioned by feel. A brief squeal on start-up, a belt set that runs warm to the touch, sidewalls glazed to a shine after three months: all of it comes from the same root cause, which is that V-belt tension was set by pressing a thumb on the span and deciding it felt about right. The frustrating part is that belt drives are among the most forgiving power transmission elements ever built, and almost all of their premature failures trace back to a single number that takes five minutes to set correctly. Getting it right is not a matter of experience or feel. It is a measurement with a defined target, a defined tolerance and a defined follow-up check, and the reason so few drives receive it is simply that nobody has written the procedure down.
What tension is actually for
A V-belt transmits torque through friction between its flanks and the pulley groove walls, and the normal force generating that friction comes from the wedging action of the belt being pulled into the groove. Static tension is what provides that wedging force before any load is applied. Set it too low and the belt slips under peak torque, which generates heat at the interface, glazes the flanks, hardens the rubber compound and destroys the friction coefficient permanently — a slipping belt does not recover once it has been allowed to slip. Set it too high and the wedging force becomes an unnecessary radial load on the shafts and bearings at both ends, and that load is present continuously whether the machine is working or idling. A drive tensioned fifty percent above specification can easily double the radial load on the motor bearing, which is why a plant with chronic motor bearing failures on belt-driven equipment should look at the tensioning procedure before looking at the bearings. The target sits in a band, not at a point, and the band is wide enough that correct tensioning is easy once you measure.
The deflection method and where it goes wrong
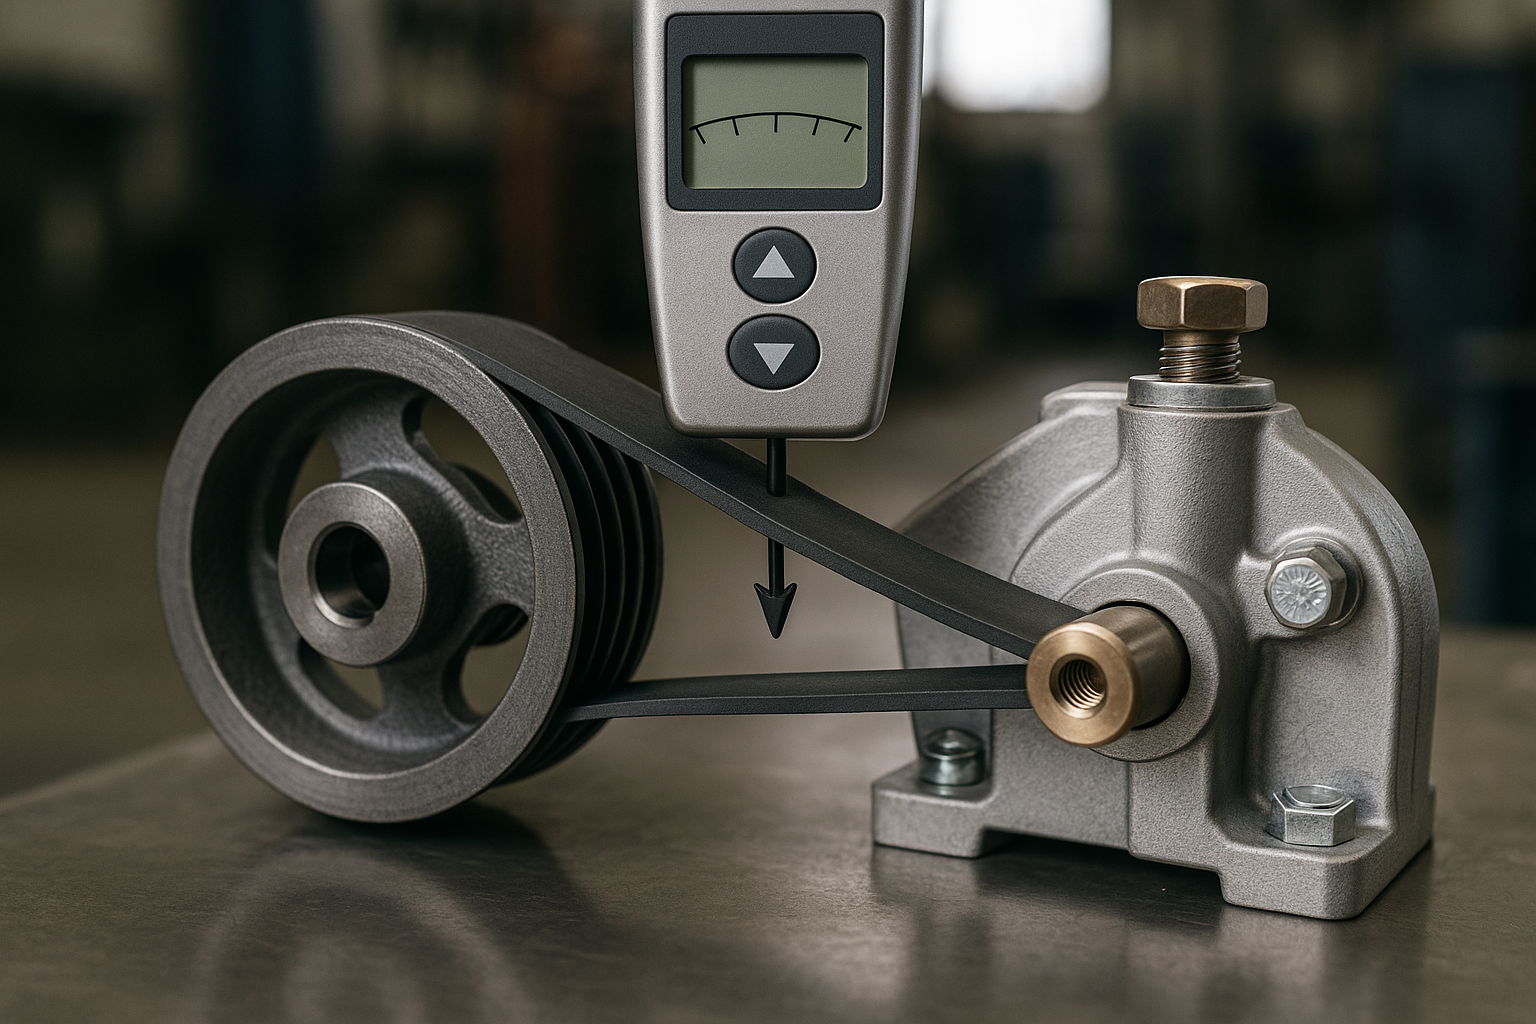
The traditional method applies a defined force at the centre of the free span and measures how far the belt deflects, comparing the result against a target of roughly sixteen millimetres of deflection per metre of span. A spring-loaded tension tester gives you both numbers at once. Done carefully it is perfectly adequate, and it remains the practical choice where the drive is inaccessible or noisy. The problems are procedural rather than conceptual. Span length has to be measured rather than estimated, because the target scales directly with it and a twenty percent error in span produces a twenty percent error in tension. The force has to be applied perpendicular to the span at its true centre, which is awkward on a vertical drive. And on a multi-belt set the tester reads only the belt it touches, which tells you nothing about the others. Most importantly, the method gives you deflection force, from which static tension has to be inferred through the belt’s own stiffness — fine for a standard wrapped belt, less reliable for a moulded notch or a high-modulus construction. The practical distinctions between those constructions are covered in our note on the classic versus cogged decision.
The frequency method and why it has taken over
A free belt span behaves like a vibrating string: pluck it and it sounds a fundamental frequency determined by its tension, its mass per unit length and the span length. A frequency meter — optical or acoustic — reads that frequency directly and converts it to tension without any of the geometric fiddling the deflection method requires. It is faster, it is repeatable between technicians, it works on vertical and awkward drives, and crucially it lets you check every belt in a set individually in about ten seconds each. The relationship is straightforward: tension is proportional to the square of the frequency, to the mass per metre and to the square of the span length, so a target frequency can be calculated once for a given drive and written on a label attached to the guard. That last step is what turns the method from a tool into a procedure, because the next person to service the drive then has a number to hit rather than a judgement to make. For plants running many similar drives, labelling the target frequency on each guard is probably the single highest-return maintenance intervention available on belt transmissions.
Getting the target number without a calculator argument
Three inputs produce the target. Span length is measured between the tangent points where the belt leaves each pulley, not centre to centre, though on most drives the difference is small enough that centre distance is an acceptable approximation. Mass per metre comes from the belt manufacturer’s data and depends on section and construction — an SPB section is substantially heavier than an SPZ, and a moulded notched belt differs from a wrapped one of the same section. Target static tension per belt comes from the drive calculation, which accounts for transmitted power, small pulley diameter, speed and arc of contact. Where the original drive calculation has been lost, which is usual, manufacturer selection software will reproduce it from the drive geometry in a couple of minutes. The one shortcut worth avoiding is taking the target tension from a generic table by belt section alone, because two SPB drives transmitting very different powers need very different tensions, and the generic figure will be wrong for both. The selection route is set out in our V-belt selection guide.
The retension window after first run
New belts seat into the pulley grooves and the tensile cords bed down during the first hours of operation, and the result is a tension loss of somewhere between ten and thirty percent depending on construction. This is normal, it is expected, and it is the reason drives tensioned correctly at installation are found loose a fortnight later. The standard practice is to tension to the higher end of the installation band for new belts, run the drive under load for between thirty minutes and four hours, then stop and retension to the nominal running value. Skipping that second visit is the most common single error in belt maintenance, and it is almost always a scheduling failure rather than a knowledge failure: the fitter who installed the belt has moved to another job and nobody owns the follow-up. Booking the retension as a separate work order at installation time solves it. After that initial bedding-in, a correctly specified drive should hold tension for months, and a drive that needs frequent retensioning is telling you something else is wrong — worn grooves, misalignment, or a belt section working beyond its rating. Our notes on extending belt life cover those secondary causes.
What the drive itself will tell you
Before reaching for any instrument, a two-minute look at the components answers most questions. Glazed, shiny belt flanks indicate slip, which means insufficient tension or worn grooves. Belts sitting low in the groove, touching or nearly touching the bottom, mean the grooves are worn beyond use and no amount of tension will restore the drive, because the wedging surfaces are gone and the belt is riding on its base. Fraying on one side of the belt or uneven wear across a set points to misalignment rather than tension. Cracking on the underside indicates fatigue from a pulley diameter below the section’s minimum, or a back-idler bending the belt the wrong way. Excessive sidewall temperature immediately after shutdown is a slip signature. Checking groove wear with a template costs almost nothing and prevents the common and expensive mistake of fitting an expensive new belt set into pulleys that should have been replaced with them. Groove wear also explains why a drive that was fine last year cannot be made to hold tension this year.
Multi-belt sets, matched lengths and when to use a banded belt
On a multi-belt drive every belt must carry a share of the load, and that only happens if they are the same effective length within a tight tolerance. Manufacturers control this with length codes and supply matched sets for exactly this reason, which is why replacing one failed belt out of a set of four is false economy: the new belt is shorter and stiffer than its worn companions, takes a disproportionate share of the load, and fails early while the old belts continue to slip. Always replace the full set, and always from the same manufacturer and batch where possible. Where a drive suffers from belt whip, shock loading or belts jumping out of grooves — common on crushers, reciprocating compressors and shredders — a banded belt, with several profiles joined by a common top layer, solves the stability problem outright at the cost of needing more precise alignment. Cogged sections are the other lever available, allowing smaller pulley diameters and a more compact drive without exceeding the bending limit. The premium tier comparison is set out in our piece on Blue Power versus classic belts.
Written as a procedure the whole thing fits on a laminated card: measure the span, look up the target frequency, tension new belts to the upper band, run the drive, retension after bedding in, and label the guard with the number so the next person does not have to repeat the work. Attach a groove wear check at every belt change and a set replacement policy rather than a single belt policy, and the drive stops being a recurring maintenance item. The reason this rarely happens is not that the method is difficult but that belt drives are cheap enough to be treated as consumables, so nobody costs the downtime they cause. A compressor stopped for a belt change at an inconvenient hour costs several orders of magnitude more than the five minutes of measurement that would have prevented it.
Belts glazing or drives losing tension? Our team supports European plants and workshops with matched belt sets, pulley groove assessment and drive recalculation when a section is working past its rating. Book a free consultation.